
How to add a dark mode to your React web app

We are currently living in a dark mode in everything era. Most apps nowadays come with a switch either at the navbar or just somewhere around its settings, that you just click and the screen goes dark. Some apps even come with dark mode as default, example Mixer
 , even Netflix has a dark mode by default.
Having a dark mode will really help in reducing the tiring of eyes caused by light modes and by the end of this article, you should be able to add dark mode to your Reactjs app in a few minutes.
Prerequisites
You should have a basic understanding of:
- React concepts(life cycles)
- CSS concepts, especially css variables
- Javascript Document Object Model
Setup
Create a new directory that will house our React app.
$ mkdir simple_dark_theme_react_app && cd simple_dark_theme_react_app
Next, we will need the create-react-app CLI that will help set up a simple React app faster with zero webpack configs.
$ npx create-react-app .
Run our app
$ yarn start or npm start
It should automatically launch your browser, if not visit http://localhost:3000.
If you happen to face a
fsevents is not a constructorvisit this Github issues raised about it linkIf that does not help, all I did was delete the
lockfile and thenode_modulefolder and reinstalled the packages.
{
  "name": "simple_dark_theme_react_app",
  "version": "0.1.0",
  "private": true,
  "dependencies": {
    "react": "^16.9.0",
    "react-dom": "^16.9.0",
    "react-scripts": "3.1.1"
  },
  "scripts": {
    "start": "react-scripts start",
    "build": "react-scripts build",
    "test": "react-scripts test",
    "eject": "react-scripts eject"
  },
  "eslintConfig": {
    "extends": "react-app"
  },
  "browserslist": {
    "production": [
      ">0.2%",
      "not dead",
      "not op_mini all"
    ],
    "development": [
      "last 1 chrome version",
      "last 1 firefox version",
      "last 1 safari version"
    ]
  }
}
Above is my package.json file.
The fun part
I will not create a whole react application because it might make this blog quite long and I also want you to be creative with no confusion. I will work with the default create-react-app template.

What we will do
What we will do is use the above default React app background color as our dark theme and white as our light theme. A switch will exist below the page to allow us to toggle the theme changes.
Note: I will not use
reacthooks because I haven't had the time to look into that and also class components really work for me.
CSS Part
CSS plays an important part when toggling through themes. Launch your favorite editor and open the src/App.css file we need to add a few variables.
/* Define our color variables */

html {
  --primary-color: #fff;
  --secondary-color: #282c34;
}

/* Redefine our color variables if the data-theme attr
  value is "dark
*/

html[data-theme="dark"] {
  --primary-color: #282c34;
  --secondary-color: #fff;
}

.App {
  text-align: center;
}

.App-logo {
  animation: App-logo-spin infinite 20s linear;
  height: 40vmin;
  pointer-events: none;
}

.App-header {
  background-color: var(--secondary-color);
  min-height: 100vh;
  display: flex;
  flex-direction: column;
  align-items: center;
  justify-content: center;
  font-size: calc(10px + 2vmin);
  color: var(--primary-color);
}


@keyframes App-logo-spin {
  from {
    transform: rotate(0deg);
  }

  to {
    transform: rotate(360deg);
  }
}
Next, we will add our theme toggle switch. Open the src/App.js file.
import React from "react";
import logo from "./logo.svg";
import "./App.css";

class App extends React.Component {
  render() {
    return (
      <div className="App">
        <header className="App-header">
          <img src={logo} className="App-logo" alt="logo" />
          <p>
            Edit <code>src/App.js</code> and save to reload.
          </p>
          <label class="switch">
            <input type="checkbox" />
            <span class="slider round" />
          </label>
        </header>
      </div>
    );
  }
}

export default App;
Note that I am using a class component in the
src/App.jsfile.
We will need to add a couple of css to style our toggle button, open src/App.css file.
/* CSS styling for our switch */
/* This switch was styled with the help of w3schools */
/* https://www.w3schools.com/howto/tryit.asp?filename=tryhow_css_switch */
.switch {
  position: relative;
  display: inline-block;
  width: 60px;
  height: 34px;
}

.switch input {
  opacity: 0;
  width: 0;
  height: 0;
}

.slider {
  position: absolute;
  cursor: pointer;
  top: 0;
  left: 0;
  right: 0;
  bottom: 0;
  background-color: #ccc;
  -webkit-transition: .4s;
  transition: .4s;
}

.slider:before {
  position: absolute;
  content: "";
  height: 26px;
  width: 26px;
  left: 4px;
  bottom: 4px;
  background-color: white;
  -webkit-transition: .4s;
  transition: .4s;
}

input:checked+.slider {
  background-color: #2196F3;
}

input:focus+.slider {
  box-shadow: 0 0 1px #2196F3;
}

input:checked+.slider:before {
  -webkit-transform: translateX(26px);
  -ms-transform: translateX(26px);
  transform: translateX(26px);
}

/* Rounded sliders */
.slider.round {
  border-radius: 34px;
}

.slider.round:before {
  border-radius: 50%;
}
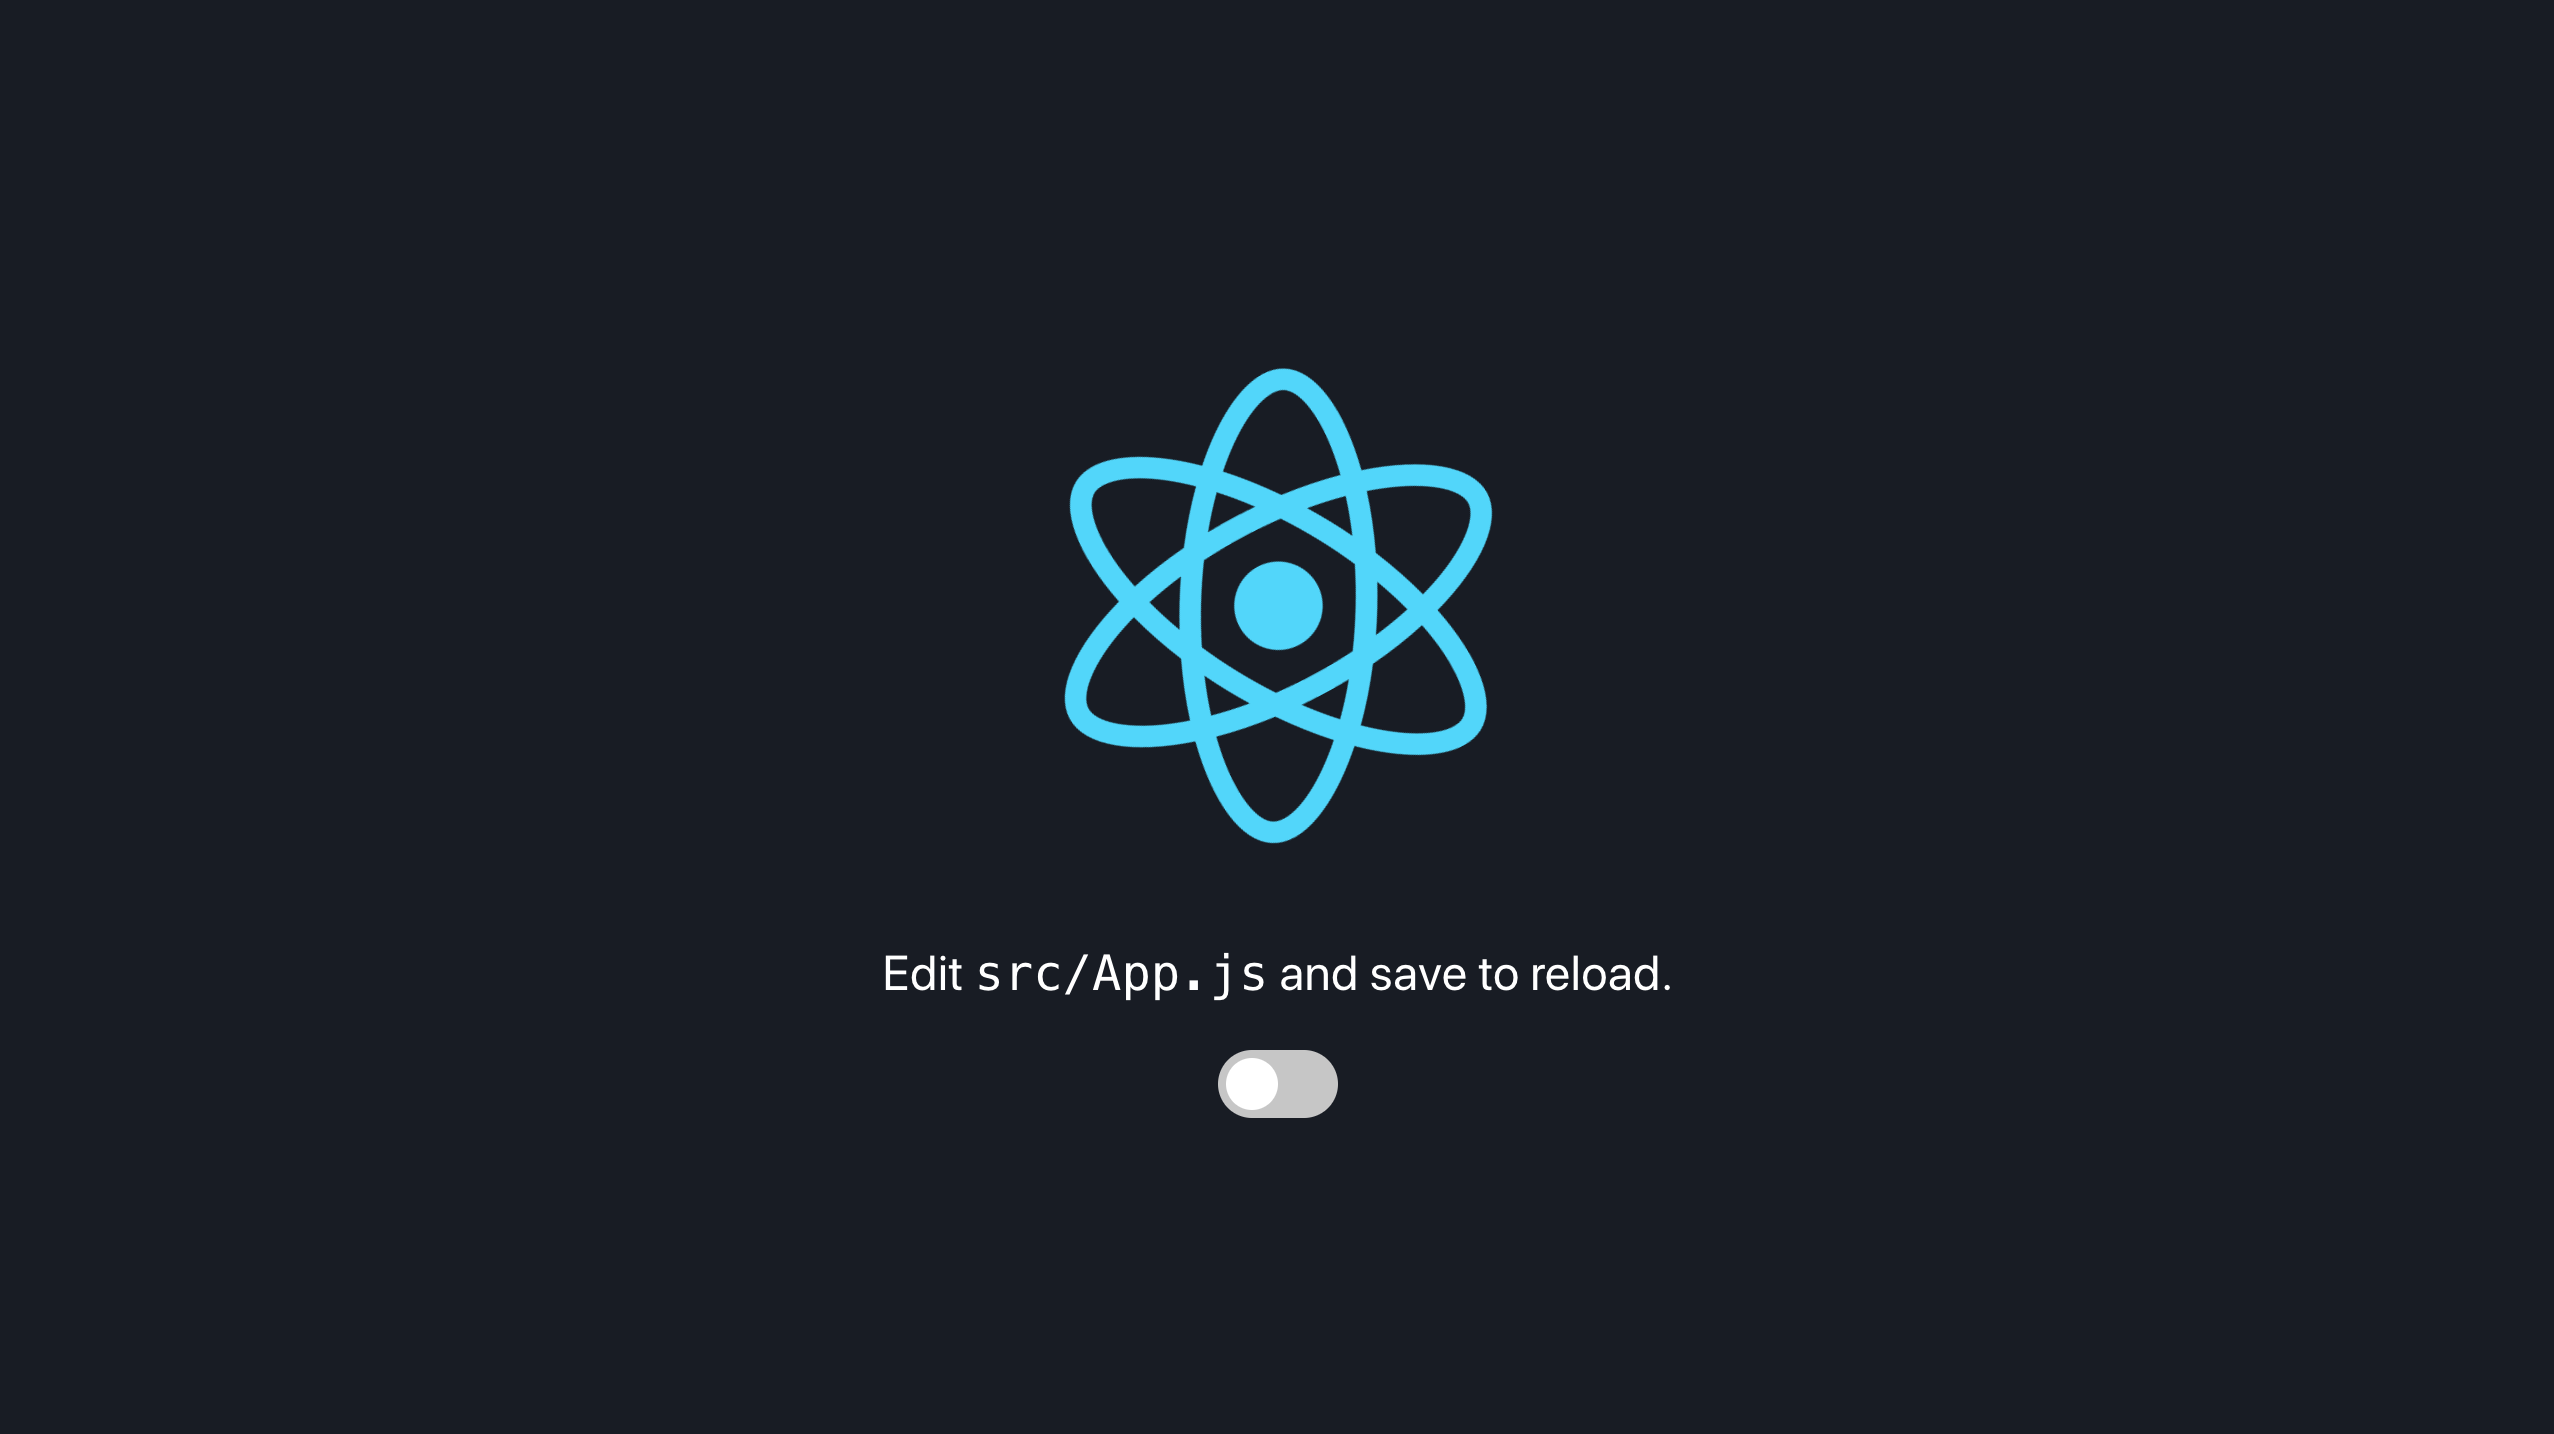
You should have something similar to the image below.
Javascript/React Part
Note: In order to prevent losing state when refreshing the app, we will store the theme state in our browser 's
localStorage.
Open your src/App.js file, let's update it so we can toggle between themes
import React from "react";
import logo from "./logo.svg";
import "./App.css";

class App extends React.Component {
  // Define a state object to hold our app's state
  state = {
    // Boolean attribute that will allow us to toggle the switch
    // Keep the switch on if the theme is dark
    checked: localStorage.getItem("theme") === "dark" ? true : false,
    /**
     * When a user activates the dark theme we will store the value
     * on localstorage or set default value to light if it is neither dark
     * nor light
     */
    theme: localStorage.getItem("theme")
  };

  componentDidMount() {
    // Update the data-theme attribute of our html tag
    document
      .getElementsByTagName("HTML")[0]
      .setAttribute("data-theme", localStorage.getItem("theme"));
  }

  // Class method allowing us to toggle the theme change
  toggleThemeChange = () => {
    const { checked } = this.state;
    // If theme is light then change to dark
    if (checked === false) {
      // Update localstorage
      localStorage.setItem("theme", "dark");
      /**
       * The document.getElementsByTagName(...).setAttribute(...)
       * will only update the value
       */
      // Update the data-theme attribute of our html tag
      document
        .getElementsByTagName("HTML")[0]
        .setAttribute("data-theme", localStorage.getItem("theme"));
      // Update our state
      this.setState({
        // Ensure our switch is on if we change to dark theme
        checked: true
      });
    } else {
      // Update localstorage
      localStorage.setItem("theme", "light");
      /**
       * The document.getElementsByTagName(...).setAttribute(...)
       * will only update the value until the App is mounted and we change
       * the state of the switch so we will need to introduce
       * a React lifecycle called ˝componentDidMount()˝
       */
      // Update the data-theme attribute of our html tag
      document
        .getElementsByTagName("HTML")[0]
        .setAttribute("data-theme", localStorage.getItem("theme"));
      // Update our state
      this.setState({
        // Ensure our switch is off if we change to light theme
        checked: false
      });
    }
  };

  render() {
    return (
      <div className="App">
        <header className="App-header">
          <img src={logo} className="App-logo" alt="logo" />
          <p>Click the switch to toggle themes</p>
          <label class="switch">
            {/* checked attribute is used to determine the state of
              checkbox
              ----------------------------------------------
              The onChange attribute will toggle our theme change
            */}
            <input
              type="checkbox"
              // checked={this.state.checked}
              defaultChecked={this.state.checked}
              onChange={() => this.toggleThemeChange()}
            />
            <span class="slider round" />
          </label>
        </header>
      </div>
    );
  }
}

export default App;
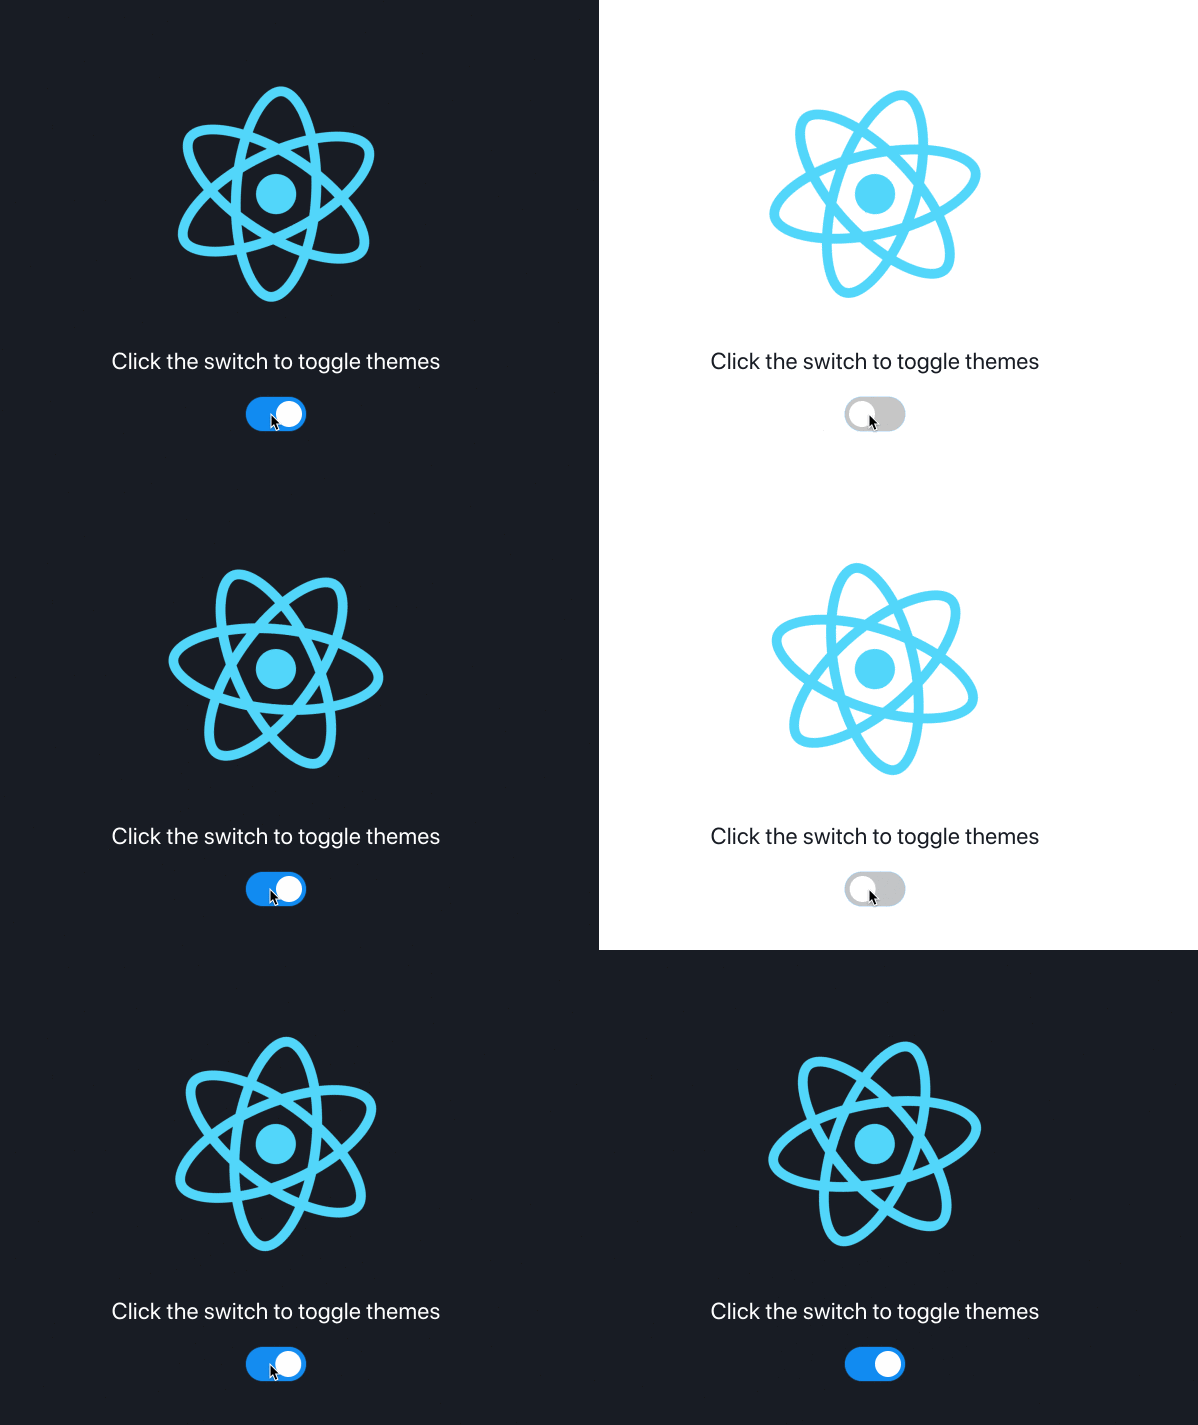
Walaaaah! You got dark mode in your app.
Summary
In this blog, we were able to create add a dark mode to our react app.


