
Getting started with NextJS Part 1

Hey Coder, I blogged about why you should learn Next in this blog. For this part of the series, I will guide through the features that next brings to the table.
Note: You should have NodeJS, npm, and npx installed. You should be proficient in Javascript and React.
Setting up our project.
You can create your own repo or clone my repo.
$ git clone https://github.com/werickblog/react_next_app.git
Change directory to where your repo is housed locally
$ cd react_next_app
We will now set up the whole next app with one command
$ npx create-next-app .
Fire up your code editor, you should see a directory similar to the one below.
components/ # Holds components that are either reusable or for refactoring
   |- head.js # Component containing head tags such as meta, which contain the metadata of the website
   |- nav.js # Reusable component for the navbar
pages/ # Contains our main components
   |- index.js # Contains component that is rendered when visiting the '/' route
static/ # Contains our static files and media such as CSS, images, and JS
   |- favicon.ico # Our default favicon
  |- .gitignore # Contains a list files and folders that git should ignore
  |- LICENSE # MIT license
  |- next.config.js # Holds configs and next plugins
  |- package.json # Depedency tracker
  |- README.md # Project doc
To run our app in development mode.
$ npm run dev # For npm

# or

$ yarn dev # For yarn
Launch your browser, visit localhost on port 3000
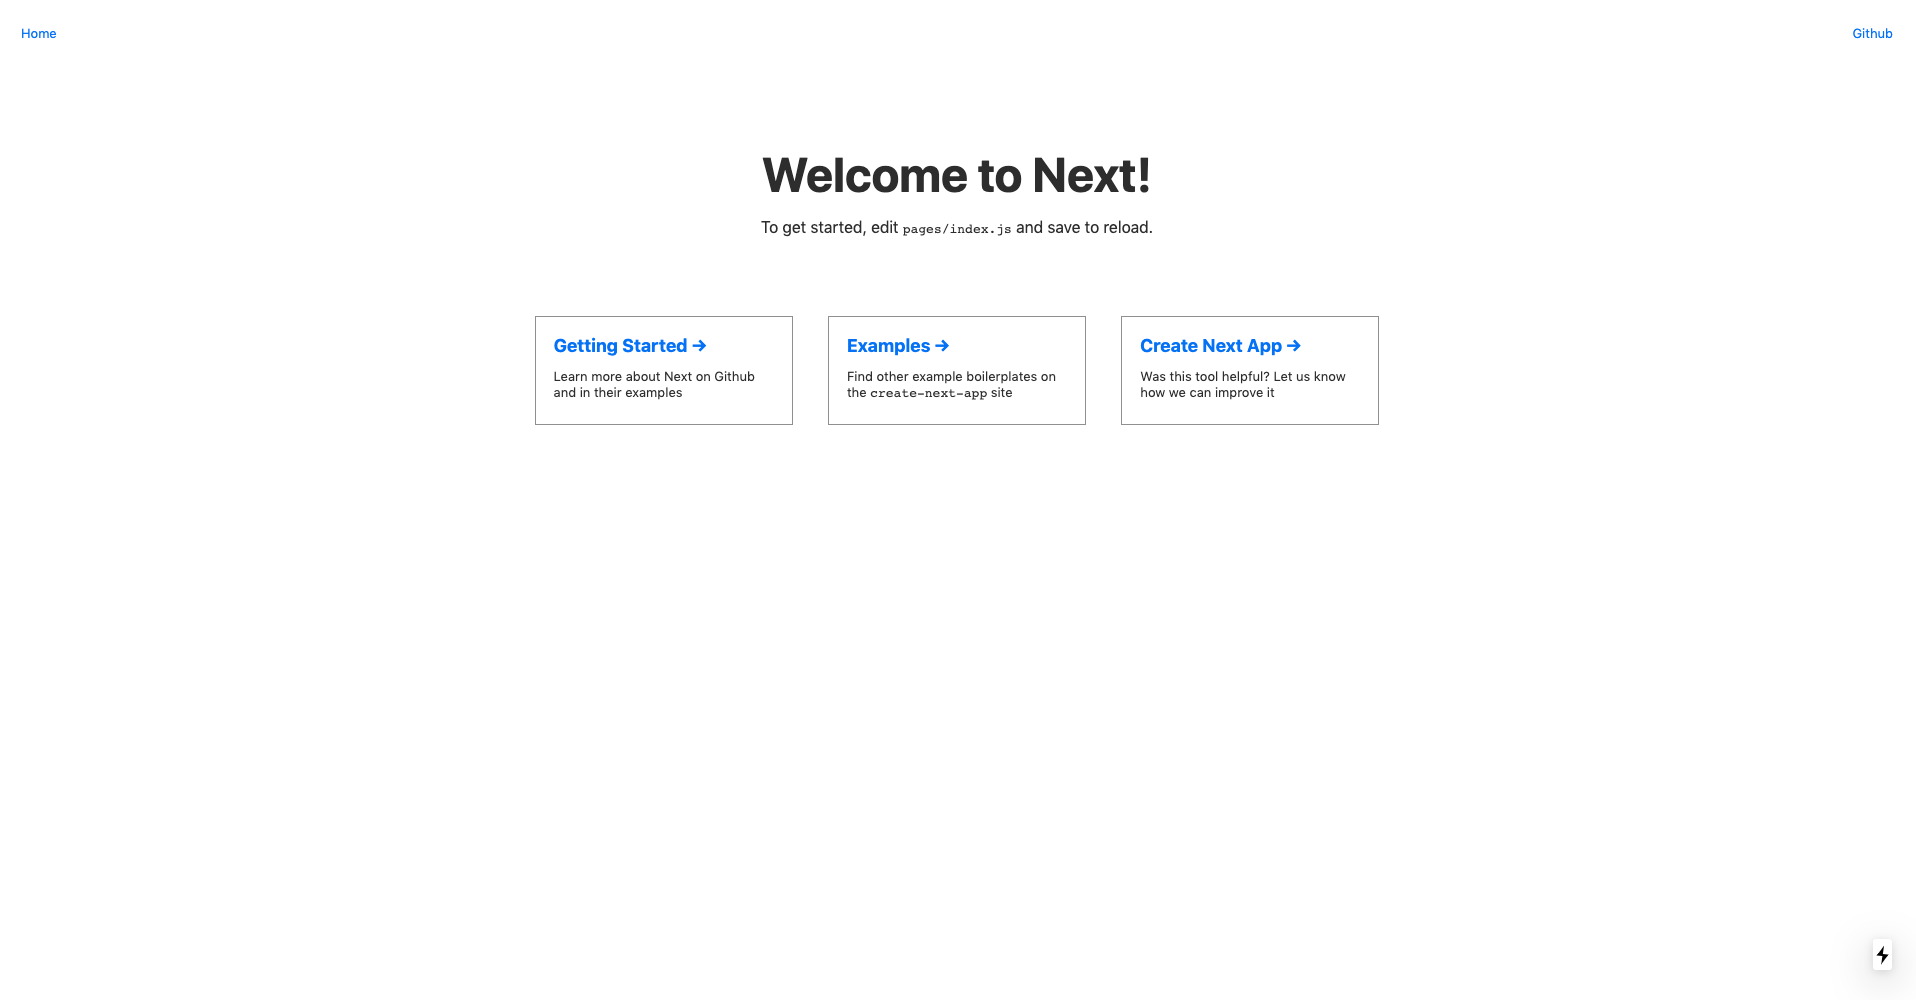
You should see something similar to the image above in your browser.
Since we are building all our app from scratch, let's delete everything in pages/index.js.
Leave out the imported libraries.
import React from 'react' // We are writing react so we probably need this
import Link from 'next/link' // the routing library for next
import Head from '../components/head' // component that updates metadata for each page rendered
import Nav from '../components/nav' // reusable navbar component

const Home = () => (
  <div>
      Next meets React
  </div>
)

export default Home
Let's explore all the features next has to offer.
Routing System
Next has a different routing system from react-router, it is based on the file-system. What do I mean when I say file-system? Whenever you create a file inside the pages/ directory, launch your browser and visit a route with the file's name, it will render what the file returns.
Create a file in the pages directory called about.js
$ cd pages && touch about.js
We have to render something so as to get something when visiting the /about route.
import React from "react";
import Link from "next/link";

const About = () => (
    <div>
        Next meets React is a blog series that touches on getting
        started on using Next with React.
    </div>
)
export default About;
Let's update our components/nav file with links to take us to the about and landing page(index)
import React from "react";
import Link from "next/link"; // Next module that helps with routing

const Nav = () => (
  <nav>
    <Link href="/">
      <a>Home</a>
    </Link>
    <Link href="/about">
      <a>About</a>
    </Link>
  </nav>
);

export default Nav;
We should update the pages/index.js and pages/about.js files by importing the nav component
import React from "react";
import Nav from "../components/nav";

const About = () => (
  <div>
    <Nav />
    <div>
      Next meets React is a blog series that touches on getting started on using
      Next with React.
    </div>
  </div>
);

export default About;
Run the development next server.
yarn dev // For yarn
npm run dev // For npm
You should have something similar when you launch your browser

If you click on the about link, it should redirect to the about page.

That basically what it means about file-system based routing. There was no need to create a file to hold all our routes nor did we configure anything, all we just did was just create a file in the pages/ directory with our own name and poof, we have routing.

Server-Side Rendering
If you ask most developers, writing your own code to make your SPA server-rendered is a nightmare. next comes with Server Side Rendering out of the box.
You can read this article by Walmart Labs that mentions all the advantages of SSR applications over CSR(Client-Side Rendered) ones.
CSS-in-JS
Writing css in your react component has its advantages such as:
- Componetizing everything, not just Javascript and you will not have to worry about your css affecting another component,(i.e. Eliminating globals)
- Maintainable at scale - when you are in a team and working on a product, having
css-in-jsis a big advantage such that you can isolate your css without affecting one of your teammates css. You can use similar css class names without a problem. - Laziness - Nowadays I write
css-in-jsbecause it reduces the hustle of changing editor tabs or closing vim windows in order to change a particular part of a css file.
Let's try out the css-in-js next feature. Currently next supports:
- External css, if you are not a
css-in-jsfanimport ".../path/to/your/css; Inline styling Let's try out inline styling in our landing page(
pages/index.js).import React from "react"; // We are writing react so we probably need this import Link from "next/link"; // the routing library for next import Head from "../components/head"; // component that updates metadata for each page rendered import Nav from "../components/nav"; // reusable navbar component const Home = () => ( <div> <Nav /> {/* Here we are styling to div, to change the color of our text and aligning the text to the right side */} <div style={{ color: "red", textAlign: "right" }}>Next meets React</div> </div> ); export default Home;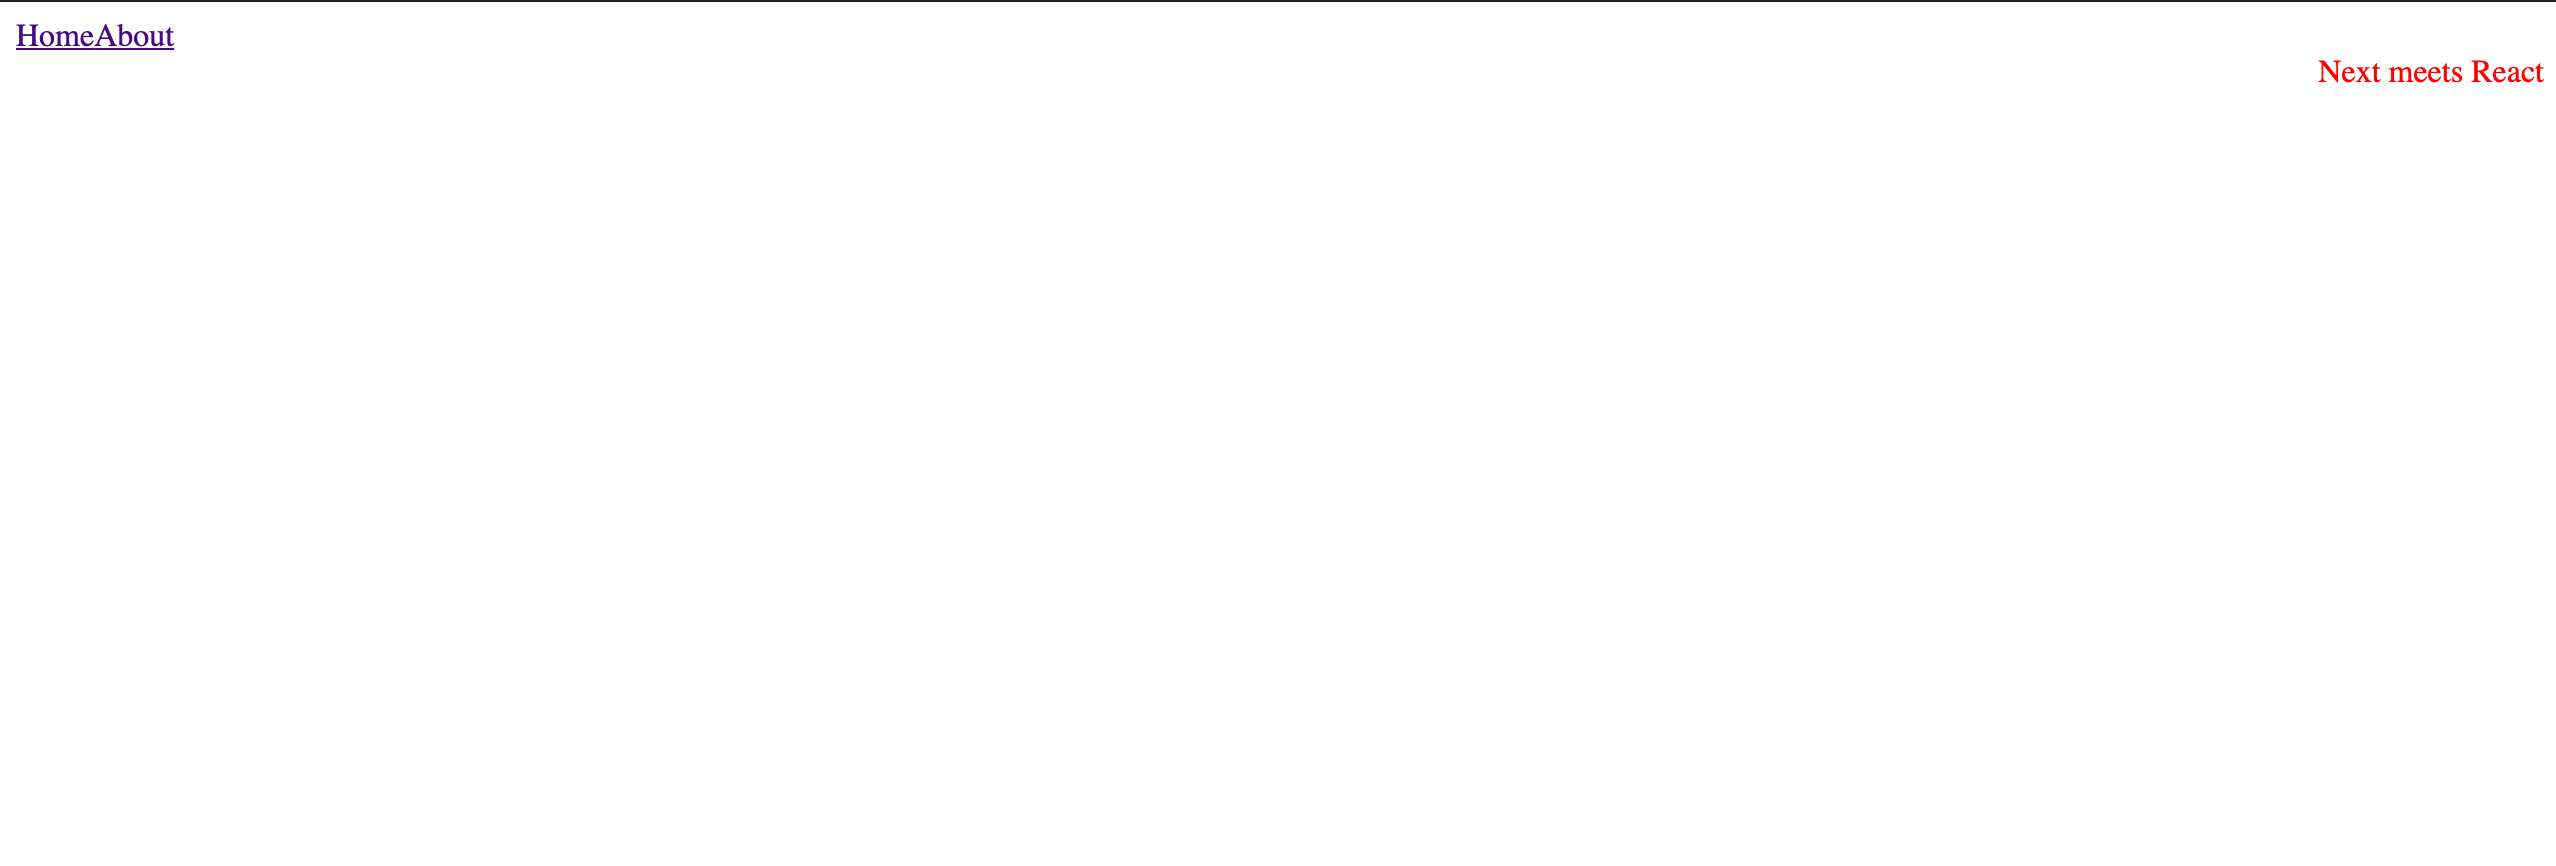
CSS-in-JS Let's continue styling our landing page(
pages/index.js) bycss-in-jsimport React from "react"; // We are writing react so we probably need this import Link from "next/link"; // the routing library for next import Head from "../components/head"; // component that updates metadata for each page rendered import Nav from "../components/nav"; // reusable navbar component const Home = () => ( <div className="home-content"> <Nav /> {/* Here we are styling to div, to change the color of our text and aligning the text to the right side */} <div className="home-content__header" style={{ color: "red", textAlign: "right" }} > Next meets React </div> {/* We have increased the font-size of a div of class name home-content__header */} <style jsx> {` .home-content__header { font-size: 32pt; } `} </style> </div> ); export default Home;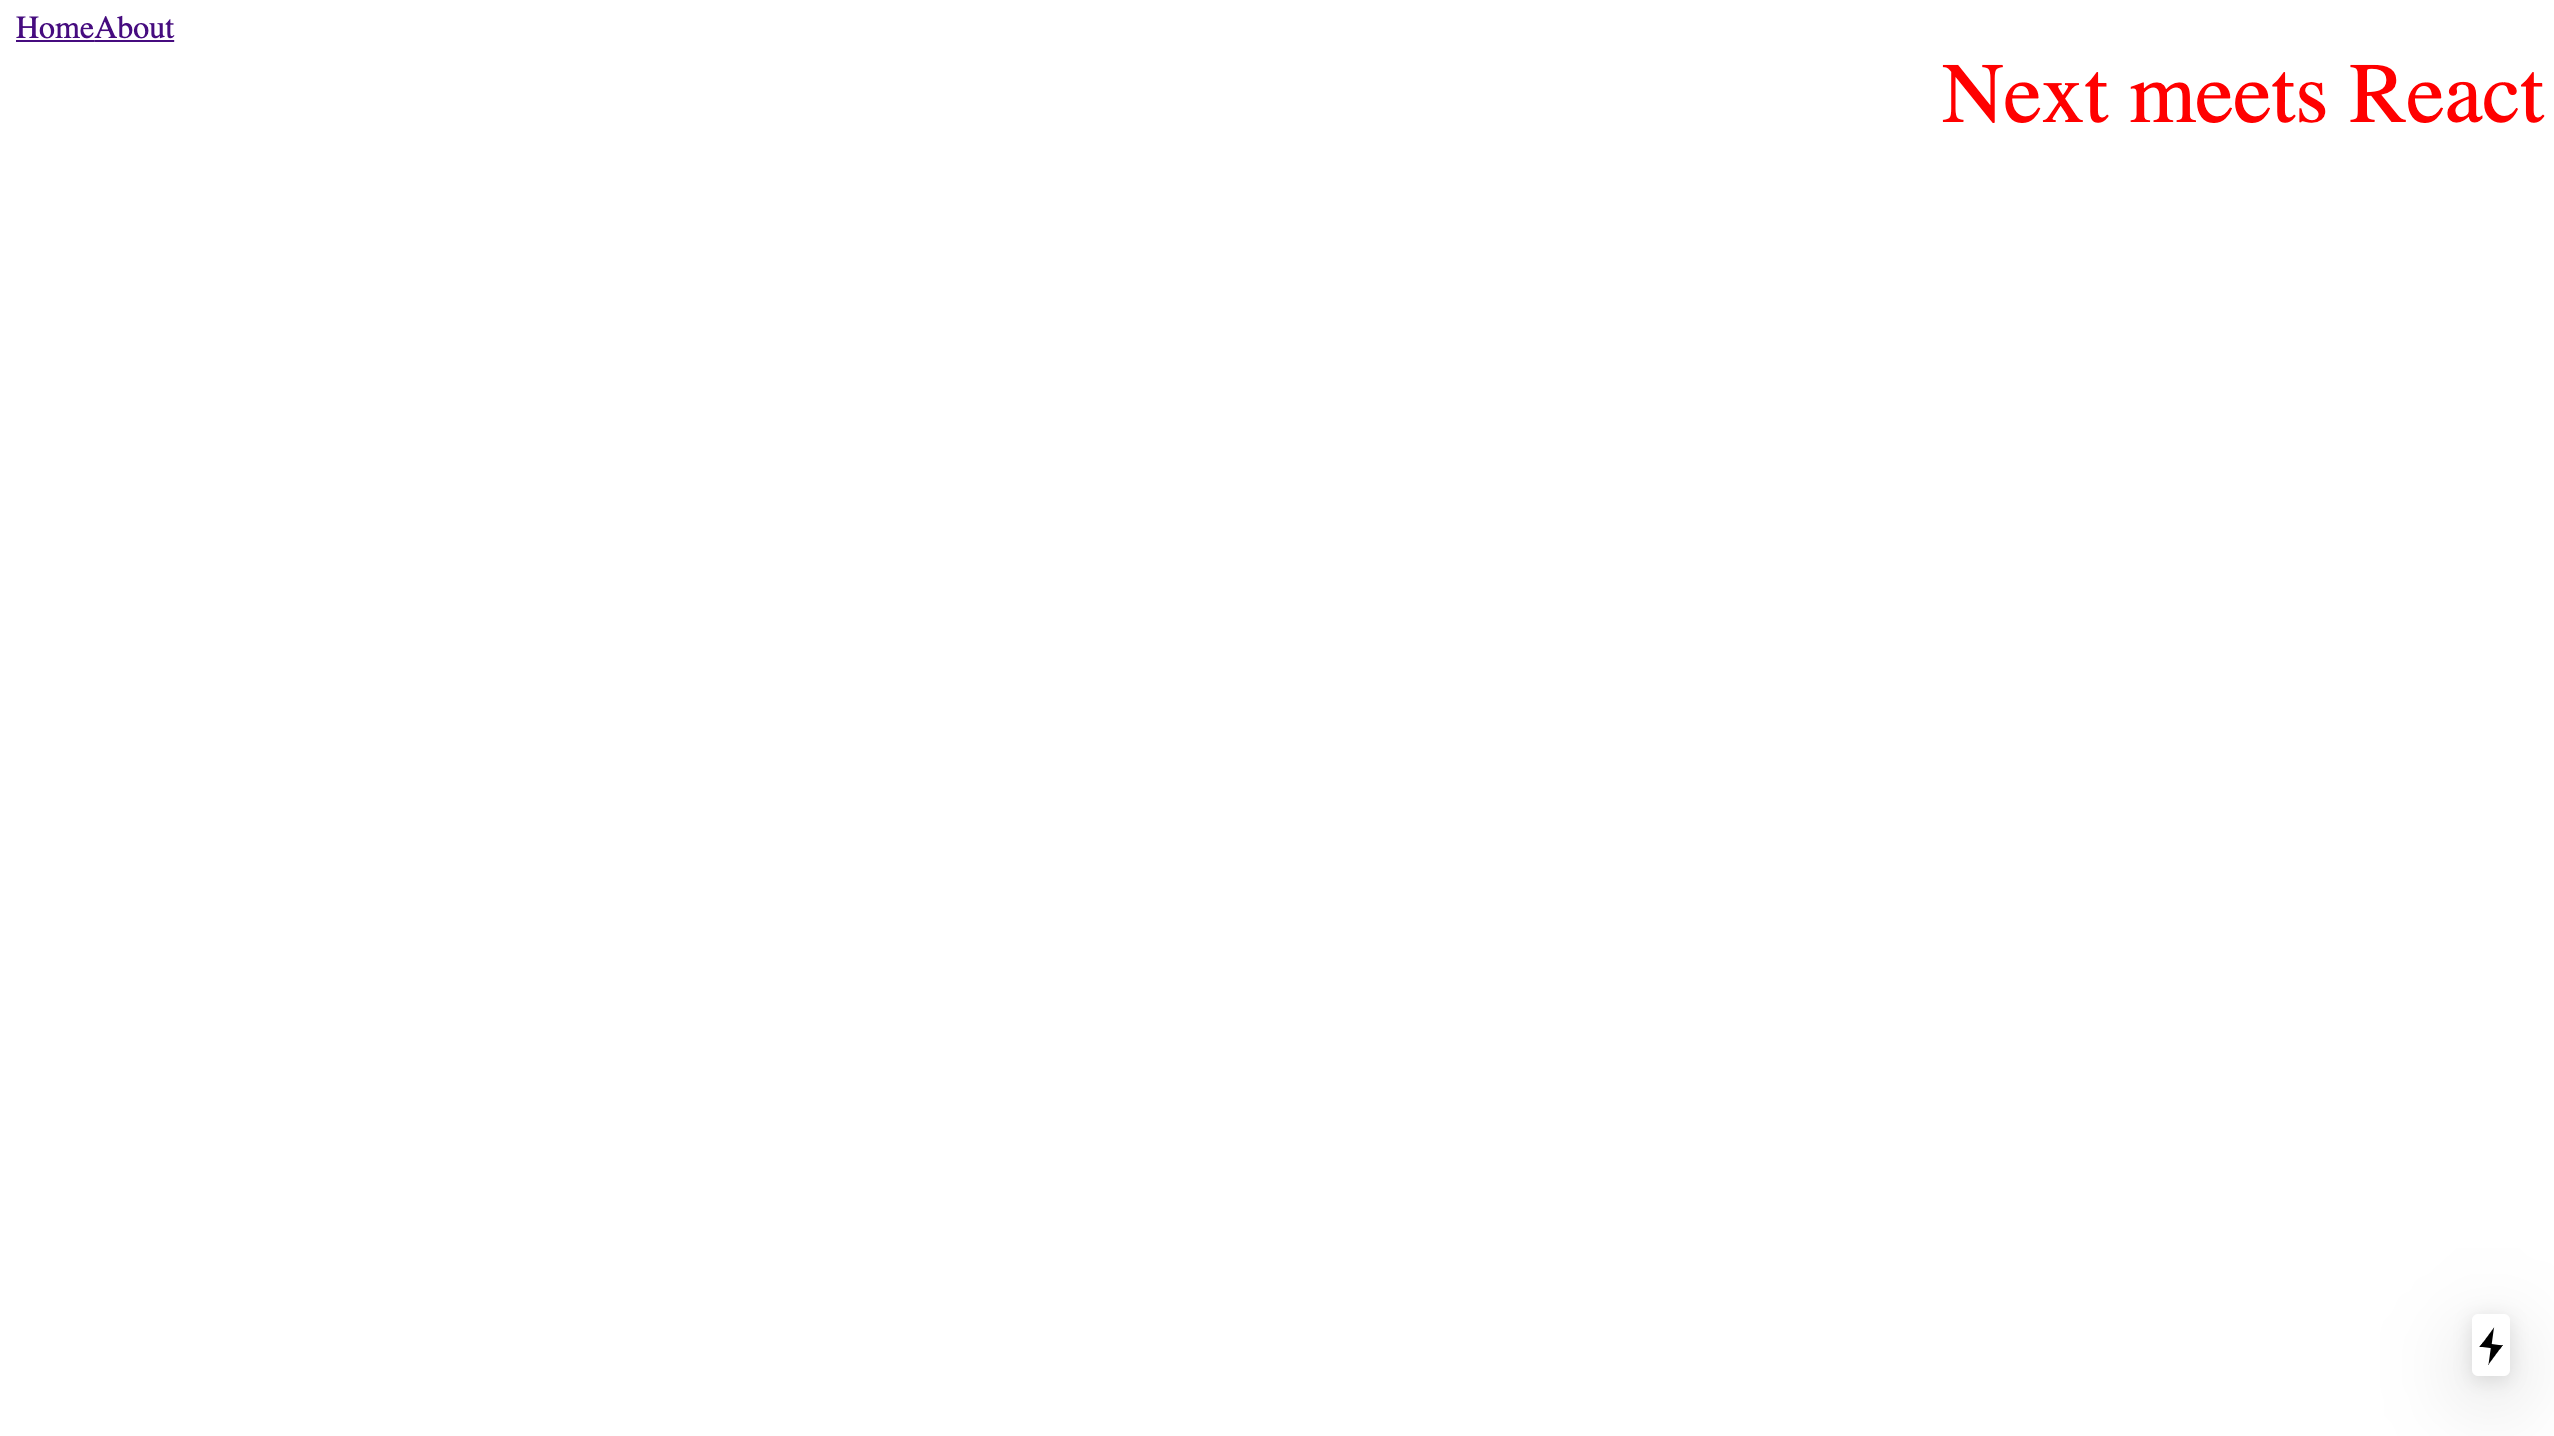
Summary
In this article we were able to:
- Set up our
nextapp. - Look into key features of NextJS such as:
- Routing
- SSR
- CSS-in-JS
Next
- On the next part of the series we upgrade our app to consume an API.


